Die Cuts Get Results
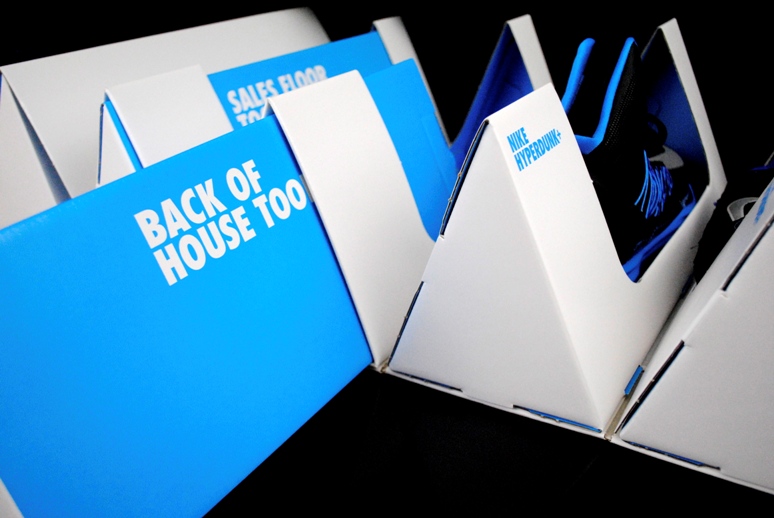
Eager to have a client, customer, or friend take a second look at your piece? Perhaps open and close it a few times out of interest? Even take time to assemble it?
Die cutting can turn your printed design into a sculpture, a model, or an irresistible urge to see what’s inside. It can add another dimension of functionality picture a door hanger, tabbed dividers, a box, the presentation folder that cradles your proposal. Do you need to perforate a coupon or kiss-cut mailing labels?
Here’s a guide on how to digitally add a dieline to a job.
THE BASICS
Cutting dies are often made by a computer-guided router or a laser that burns grooves in plywood. The grooves are fitted with razor-sharp blades for cutting, nicked blades for perforating, and dull blades for scoring. Therefore, cutting, perfing, and scoring are all done in one operation as the die is pressed against the printed sheet.
- Dielines must be created as vector art because the computer-driven machines need mathematically described lines (vectors). When building dielines, use Adobe Illustrator, never Photoshop.
- The dieline must show on a proof but won’t actually print, so it must be built in such a way that it doesnt affect the art below it. To do this, make the dieline a spot color so we can print it on a proof but ignore it when making plates – and set it to overprint – so it will not knock out the art behind it. Given the hundredths-of-an-inch tolerances of die-cutting, compared to the thousandths-of-an-inch accuracy of printing presses, we wouldn’t want a white line along the cut line.
- A dieline should be a vector line on a layer in your design. It should never be negative space or the edge of a piece of art or the boundary of a mask.
- If your die-cut piece folds, make a dummy, unfold it, and build your file flat – the way it prints. The art on the pocket of a pocket folder prints on the same side of the sheet as the outside cover. Visualizing this kind of thing is a magical gift bestowed upon some designers; the rest of us make a dummy.
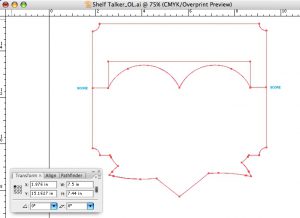 BUILD THE DIELINE
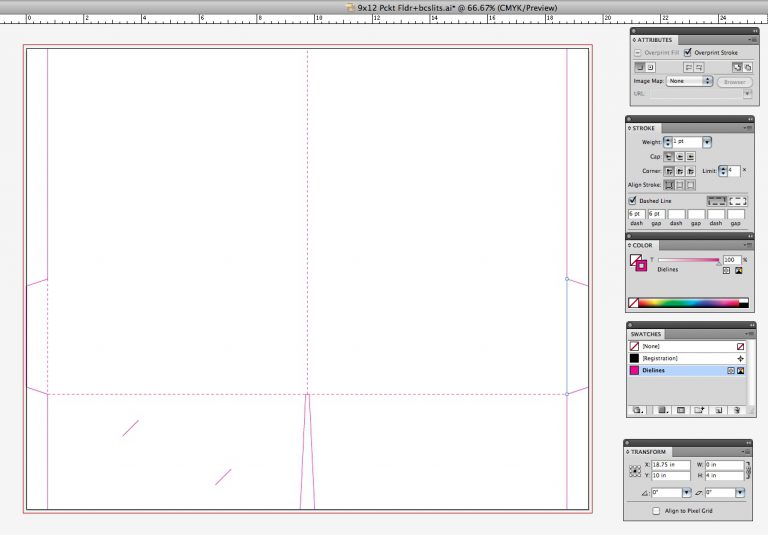
- Build the dieline in Adobe Illustrator first so you know what size it is, then place it in an InDesign document of exactly that size. The die cut must extend to all edges of the page because the trim marks allow the die cutter to locate the die on the press sheet. For a two-sided piece, imposition software uses the document boundaries to align the art back to back.
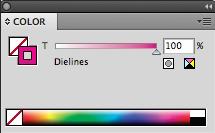 In Illustrator, make a new spot color called “Dielines”, give the dieline a 1 pt. stroke, and set the stroke to overprint in the Attributes pallette. Be sure the fill is “None” on that dieline shape, because you’re going to place it in the top layer in InDesign and you want everything on the lower layers to show (choose High Quality Display in InDesign’s View/Display Performance).
- Check the Transparent Background box when you place the die file. I usually make the Dielines color 100% magenta so it’s nice and visible, but green or orange might show up better over some art. The on-screen color doesn’t matter because “Dielines” is never going to print anywhere except on a proof.
- If the job requires scoring, you can indicate that by a dashed dieline, or just make a spot color called Scores and add a Score Layer.
BLEED
- For small die-cut pieces, add .125″ bleed beyond the trim edges; for packaging, especially when we’re printing something that laminates to corrugate, allow .25″ bleed; and for large-format printing, where the cutting is done by our computer-driven flatbed cutter, add .25″ bleed for a 1-side-only piece, and .5″ for a 2-sided piece.
- If there is an inside cut, like the hole on a door hanger or a cutout for a plastic blister on retail packaging, outline that area with the dieline and run the art right across it. Bleed is necessary inside those internal cuts too.
ABOUT GLUE TABS
- Glue tabs are almost always .75″ wide and on a pocket folder they should extend from the body not the pocket. Ink should bleed no more than .125″ onto the face of the tab, leaving the rest ink-free for gluing.
THE BIG THREE
These are 3 important points that will save you money and speed your die-cut job through our shop:
- Make your document size exactly the same size as the dieline.
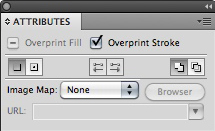
- Make the dieline a spot color vector line that overprints.
- Put the dieline on its own layer.
AND ONE MORE THING
Maybe you could start with an existing dieline and save yourself some time. We have hundreds of digital templates for pocket folders, DVD sleeves, envelopes, tabs – ask your salesperson!